
Welcome
Here is the second tutorial on Xbase cuffs.
This one and the following will just be on how to make the different designs in your xbase.
These xbases might have other names then what I put on here.
The names will be DNA, Zig Zag, and Heart.
The DNA xbase is 1 x high.

The Supplies you will need are at least three colors of beads. Base color, color 1, and color 2
You will need elastic string and scissors.
Optional supplies are a needle and clear finger nail polish (this is to help bind knots)
The Single


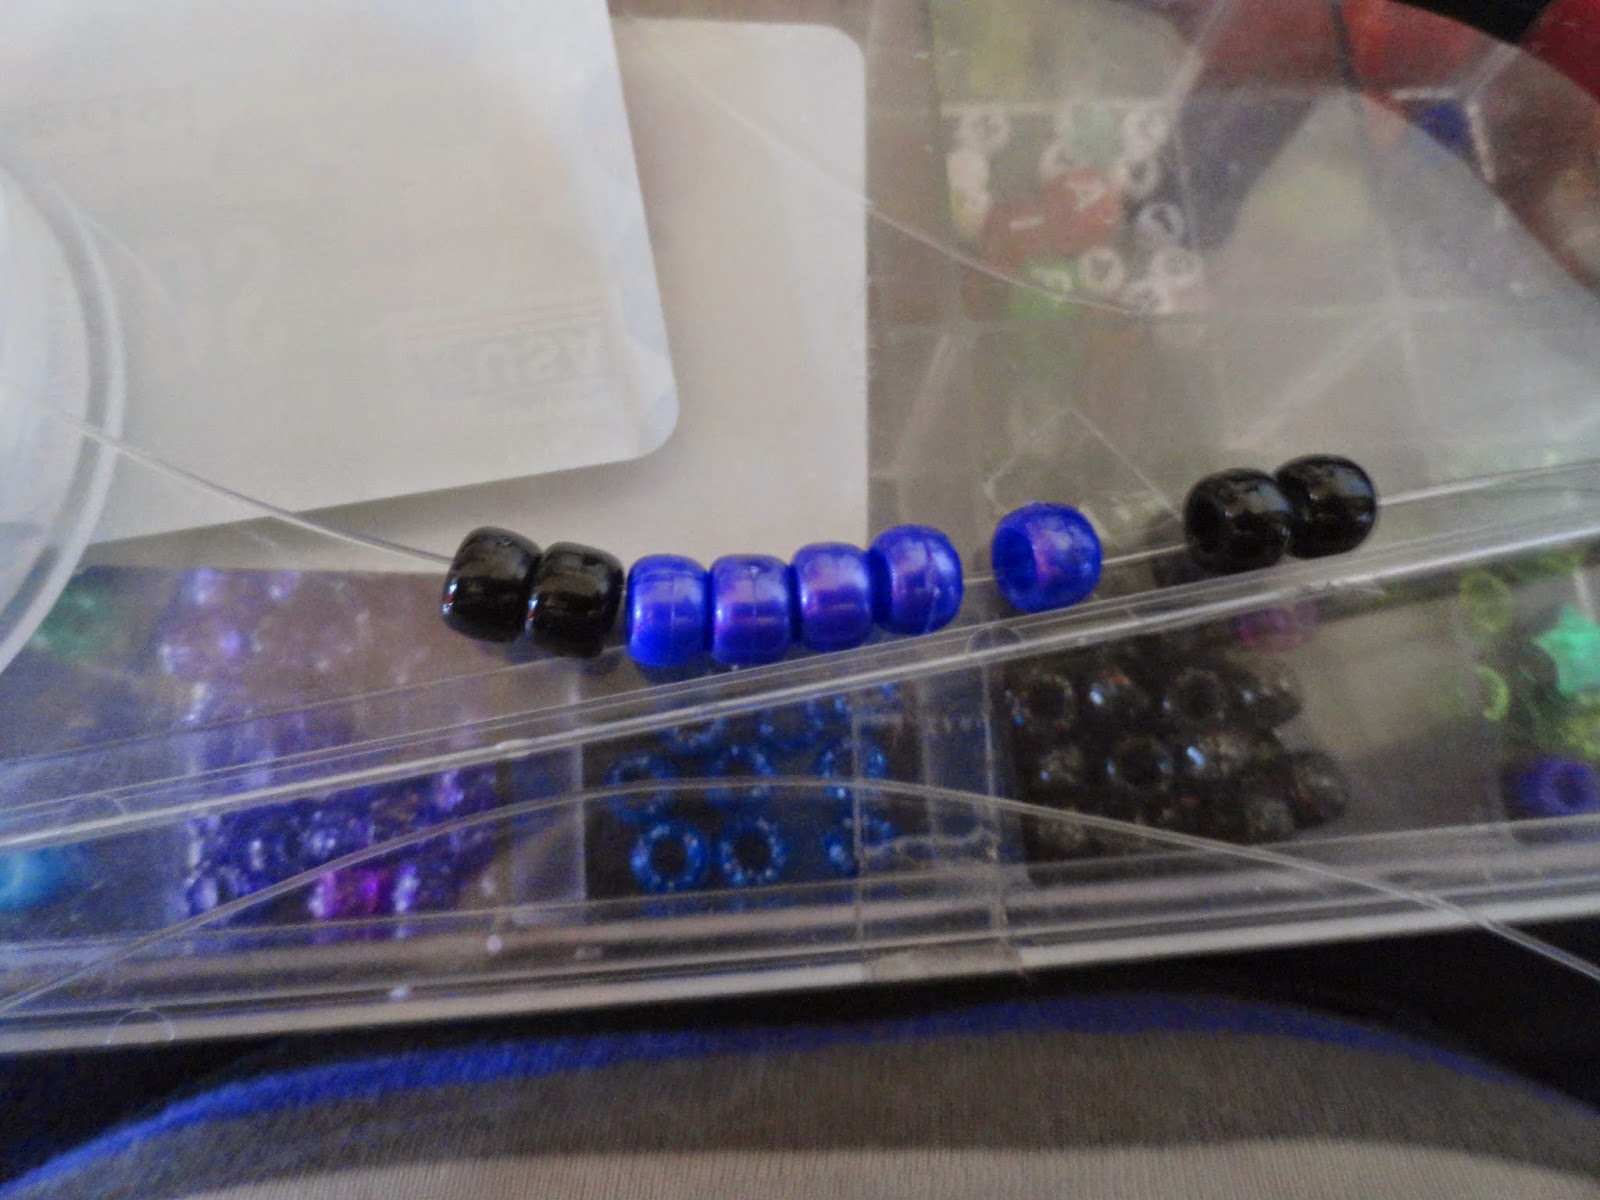
You will start by stringing on two base color then four beads of color 1.
Then string on two more base beads.


Next string on two of your color 2 beads.
Then you will repeat.
2 base, 4 color 1, 2 base, 4 color 2

Continue this until you have three sections of each of your color 1/2 beads.
Remember to end in color beads and not base beads.
Tie off into a single.
Row 2
Okay so here I will talk about rules.
These rules will just be an easier way to remember how to make this cuff when working it a different way.


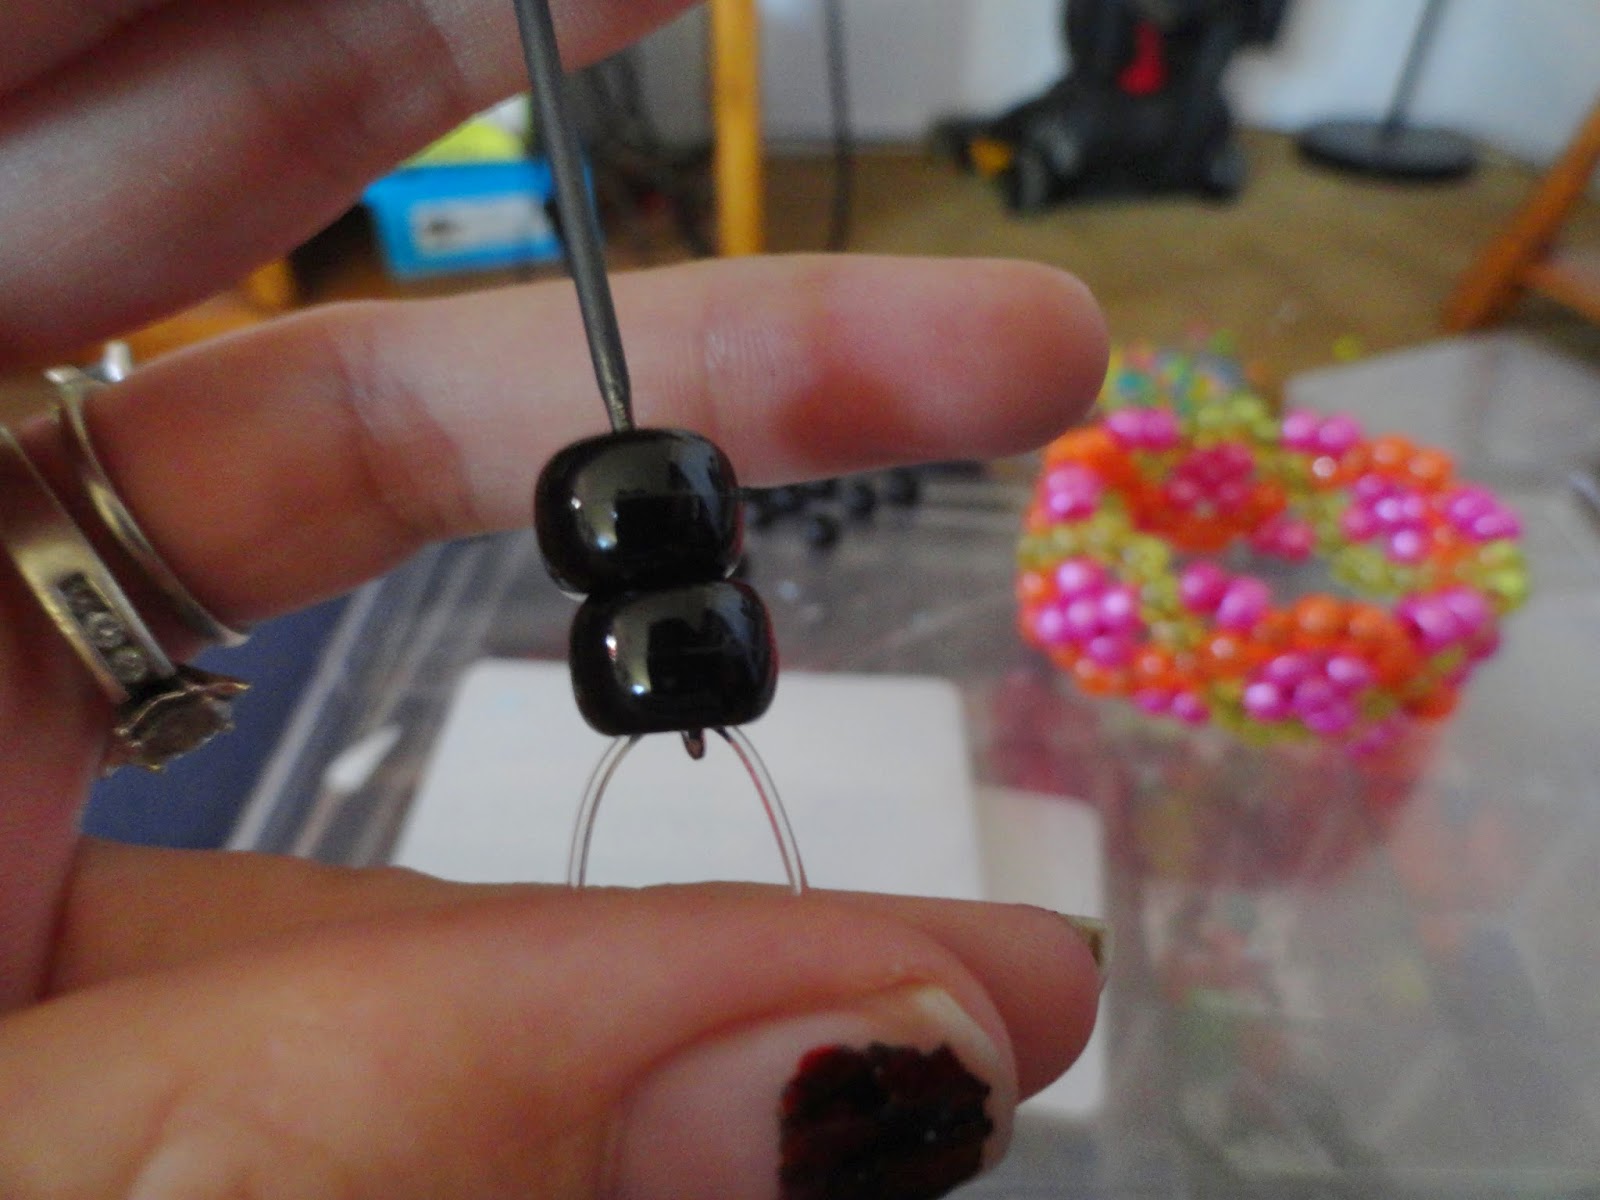
String though a color 1 bead that will still have other colored 1 beads in front of it.
So here is a Rule. If you are over colored beads use base beads.
So you will string on three base colored beads
Then string into the last color 1 bead.


Here is another rule.
When over your base bead string on colored bead.
You string on two of the color you went through and one of the color you are going into.
So now that you have strung on your beads go into the closest color 2 bead.
So remembering the rules the next steps would be to string on three base and go into your last color 2 bead.
Then you would string in 2 color 2 beads and 1 color 1 bead then go into the closest color 1 bead.
Continue this all the way around.
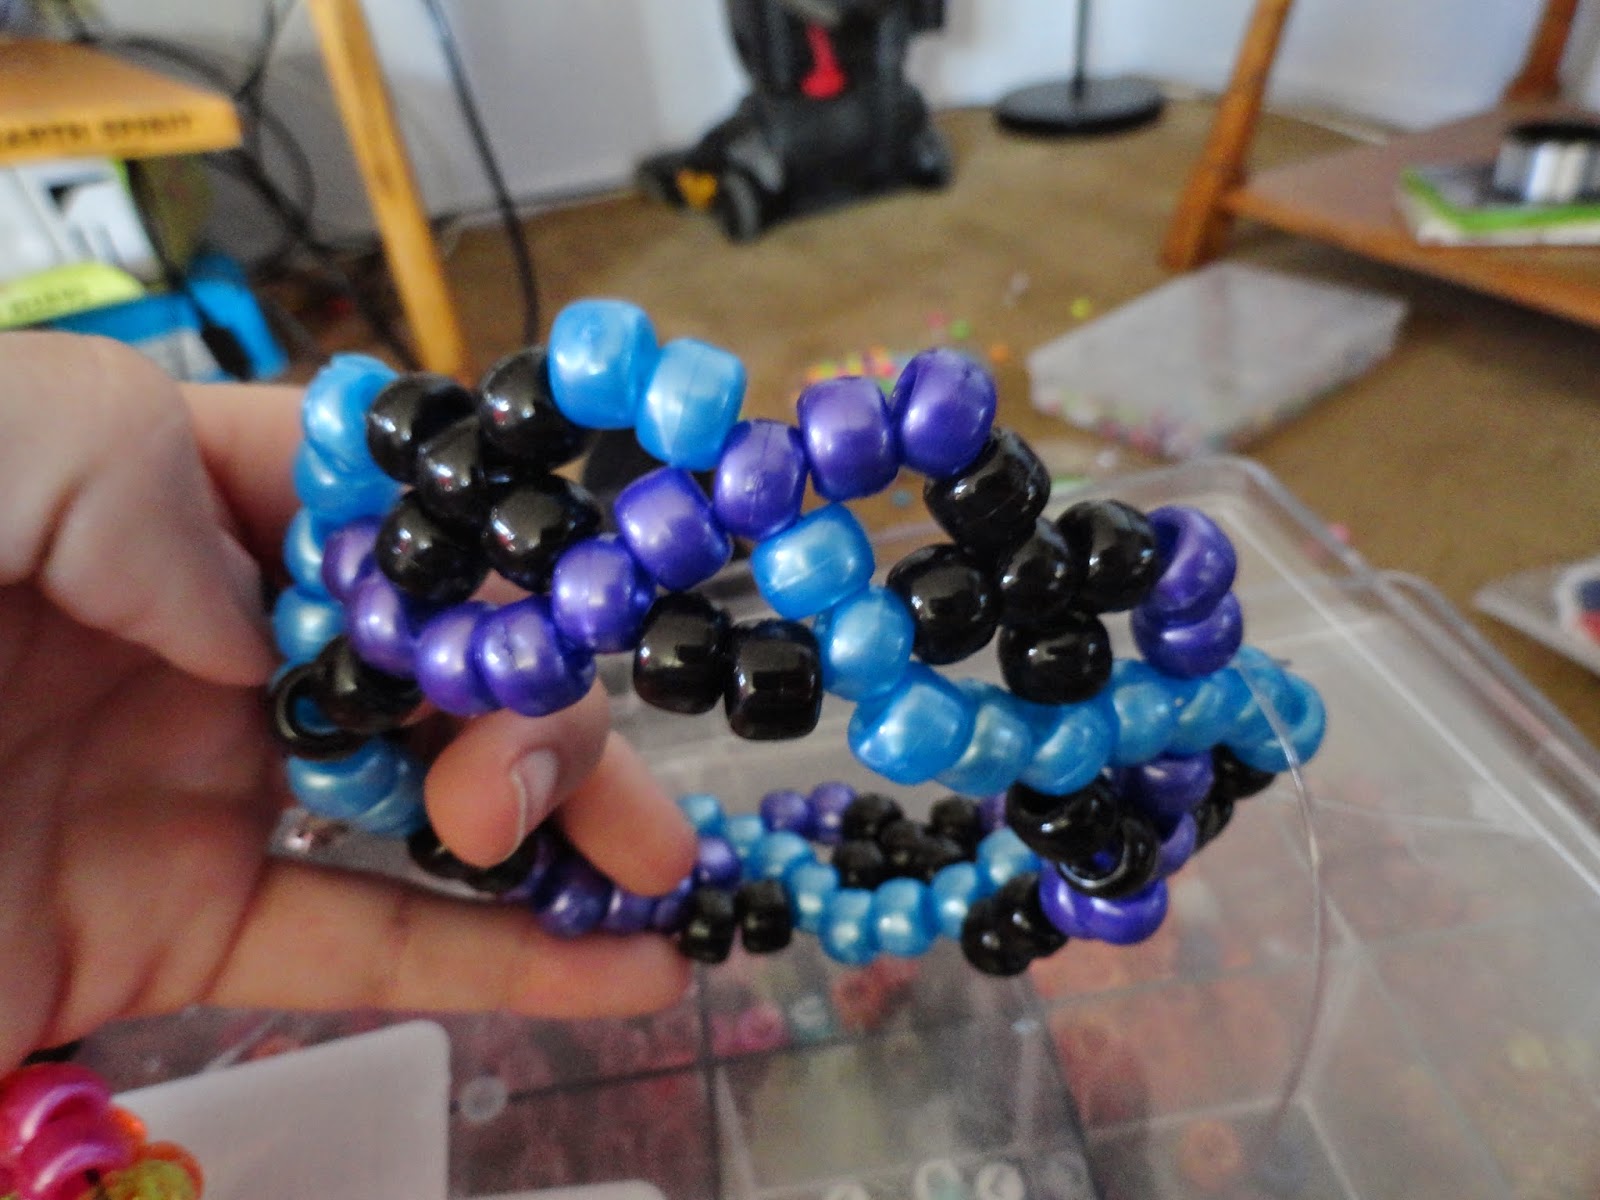
Tie off and then use finger nail polish if desired.
The out come should look similar to this.

Row 3


String though a middle or point bead of any color bead
String on two beads of that same color then one base
String into the point or middle bead of the closes base.
String on on base and two of that same color.
Go into the next color.
The you use that color to follow the same rule. Two color, one base.

Continue this all the way around.
At the end tie off and then apply polish if desired.
Cut off extra string!

Finishing Off


The rule here is if your over base you will be using color and if you are over color you will be using base.
So since this is over base you will be using two of the color you just went through.

Then string into the next middle color bead.
Then you will be over color so by the rule you will use base.
String on two base and then go into the next middle or point colored bead.
This should be the opposite color then what you started with.


You should be able to see from the pictures above what I was talking about in the rule.
Over base is the color you just strung though and over color is base.
Don't forget to pull tight and tie off.
Use polish if you wish and cut off extra string.

If you have any questions or comments please feel free to contact me
IG: @fuarie Twitter: @Fuarie Email: malakxfuarie@gmail.com
No comments:
Post a Comment