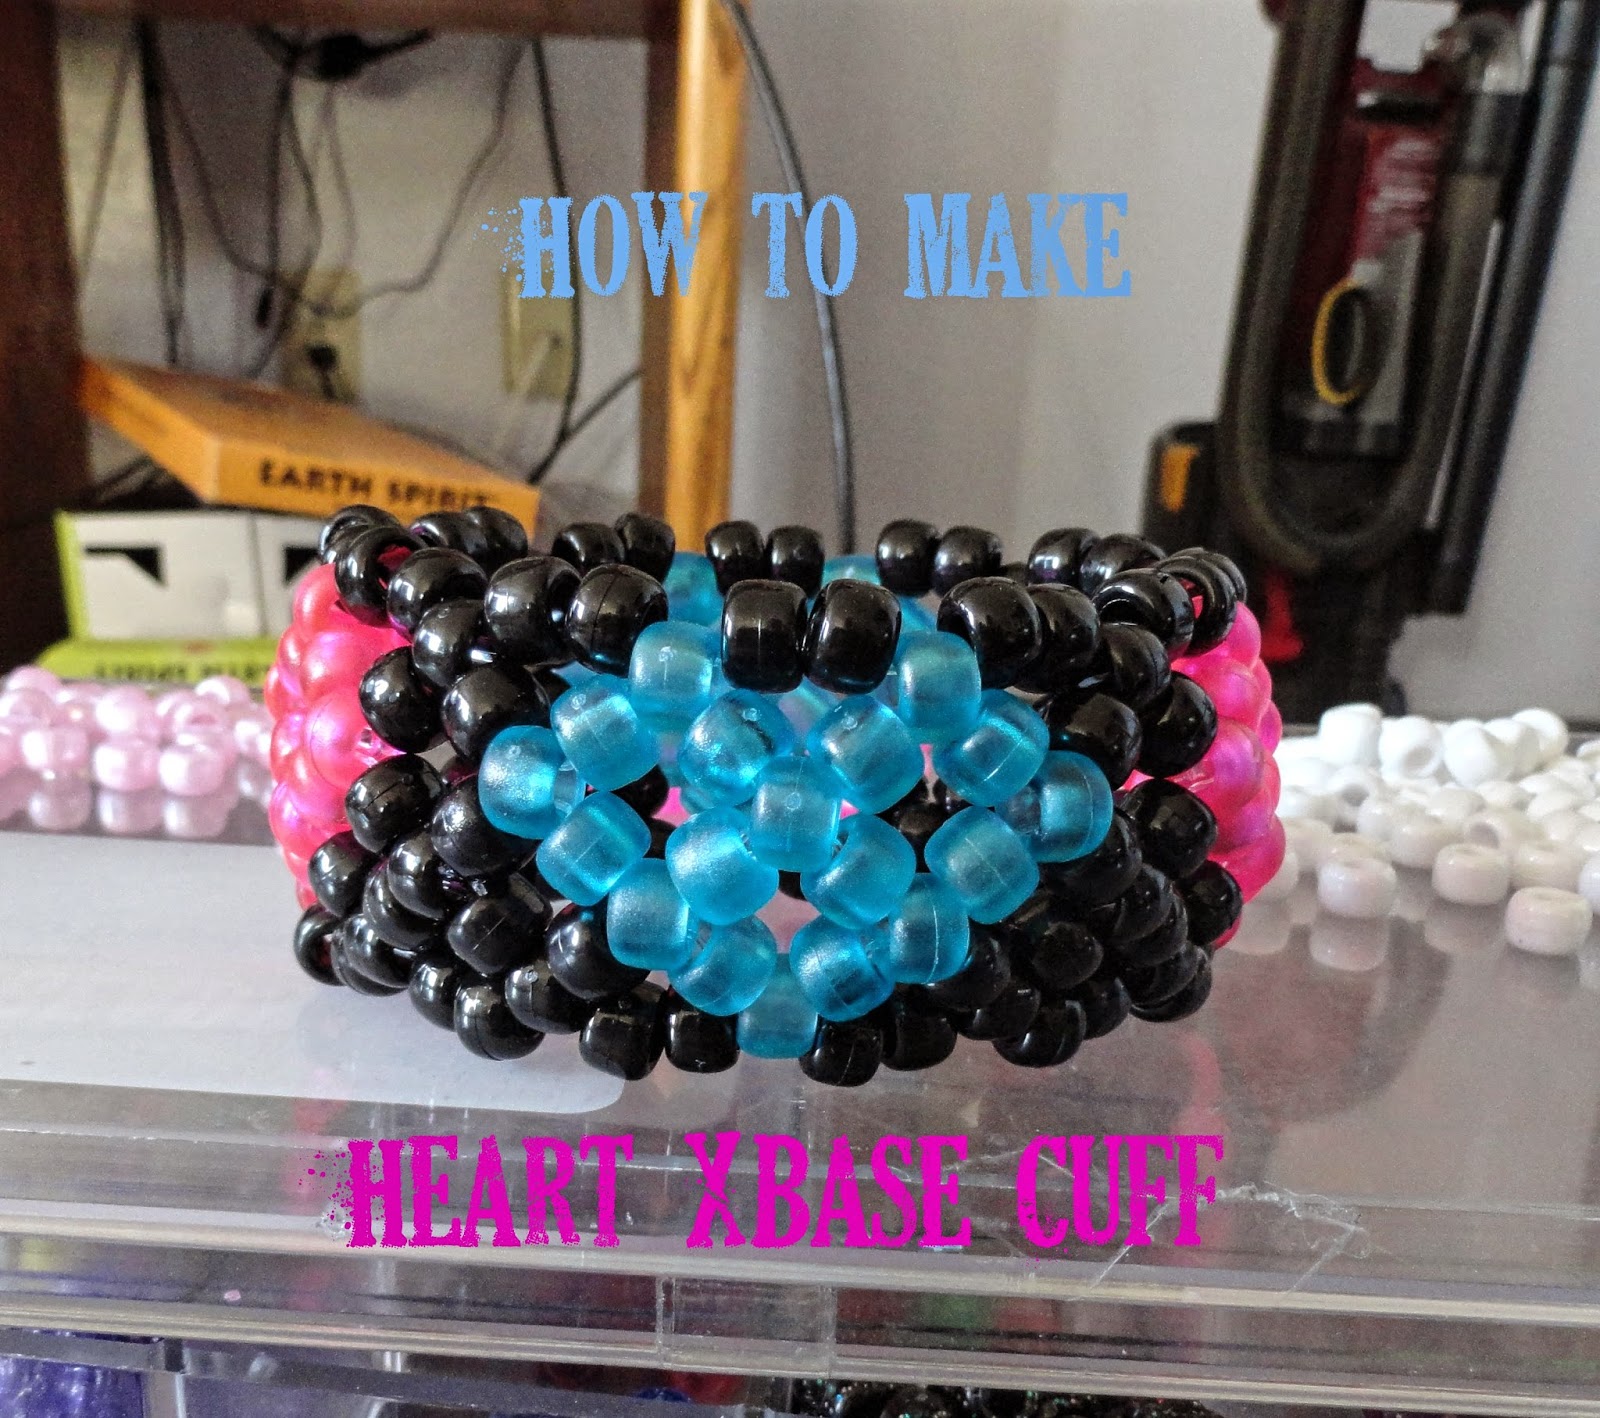
Welcome to my fourth and final xbase tutorial
The three tutorials before this were the
standard xbase, the dna xbase, and the zigzag xbase.
This is an one and half x high base.
You can continue the pattern and make two full heart which will make this a 3x high base.
You can also do this with one or two hearts but I like doing it in four.
Supplies you will need are
2-5 colors of beads in this tutorial I will be working with 3
Color 1, Color 2, and a base color.
You will also need scissors and elastic string (I use bead n stretch from Walmart)
The Single
Lets get started with our single!!
Start by adding on one color 1 bead
Then you will add 8 base beads
Then one color 2 bead
Then you will add on your 8 base beads
Repeat this until you have at least 2 of each color.
You should end up with something like below.
Row 2
This xbase can be a little tricky! Don't feel bad if you have to redo rows sometimes.
Start by going through a base bead that is two beads away from a color 1 bead.
So it will be the third bead from the color 1 bead.
String on one base bead and two color 1 beads.
Then go into your color 1 bead on the single.
It should look similar to the picture below
To continue on...
You put on two color 1 beads and one base bead.
Count two base beads and then string into the third.
Next string on three base beads.
Count two base bead from the one you are strung though and go into the third.
You will then put on one base bead and two color 2 beads
Go into the closest color 2 bead
String on two color 2 beads and one base bead.
Count two base beads and string into the third.
Then string on three base beads and count two away from the one you are strung though.
Go into the third bead away.
Continue this pattern all the way around.
You should end up with something like the picture below.
Tie off, apply polish if desired, and cut off extra string.
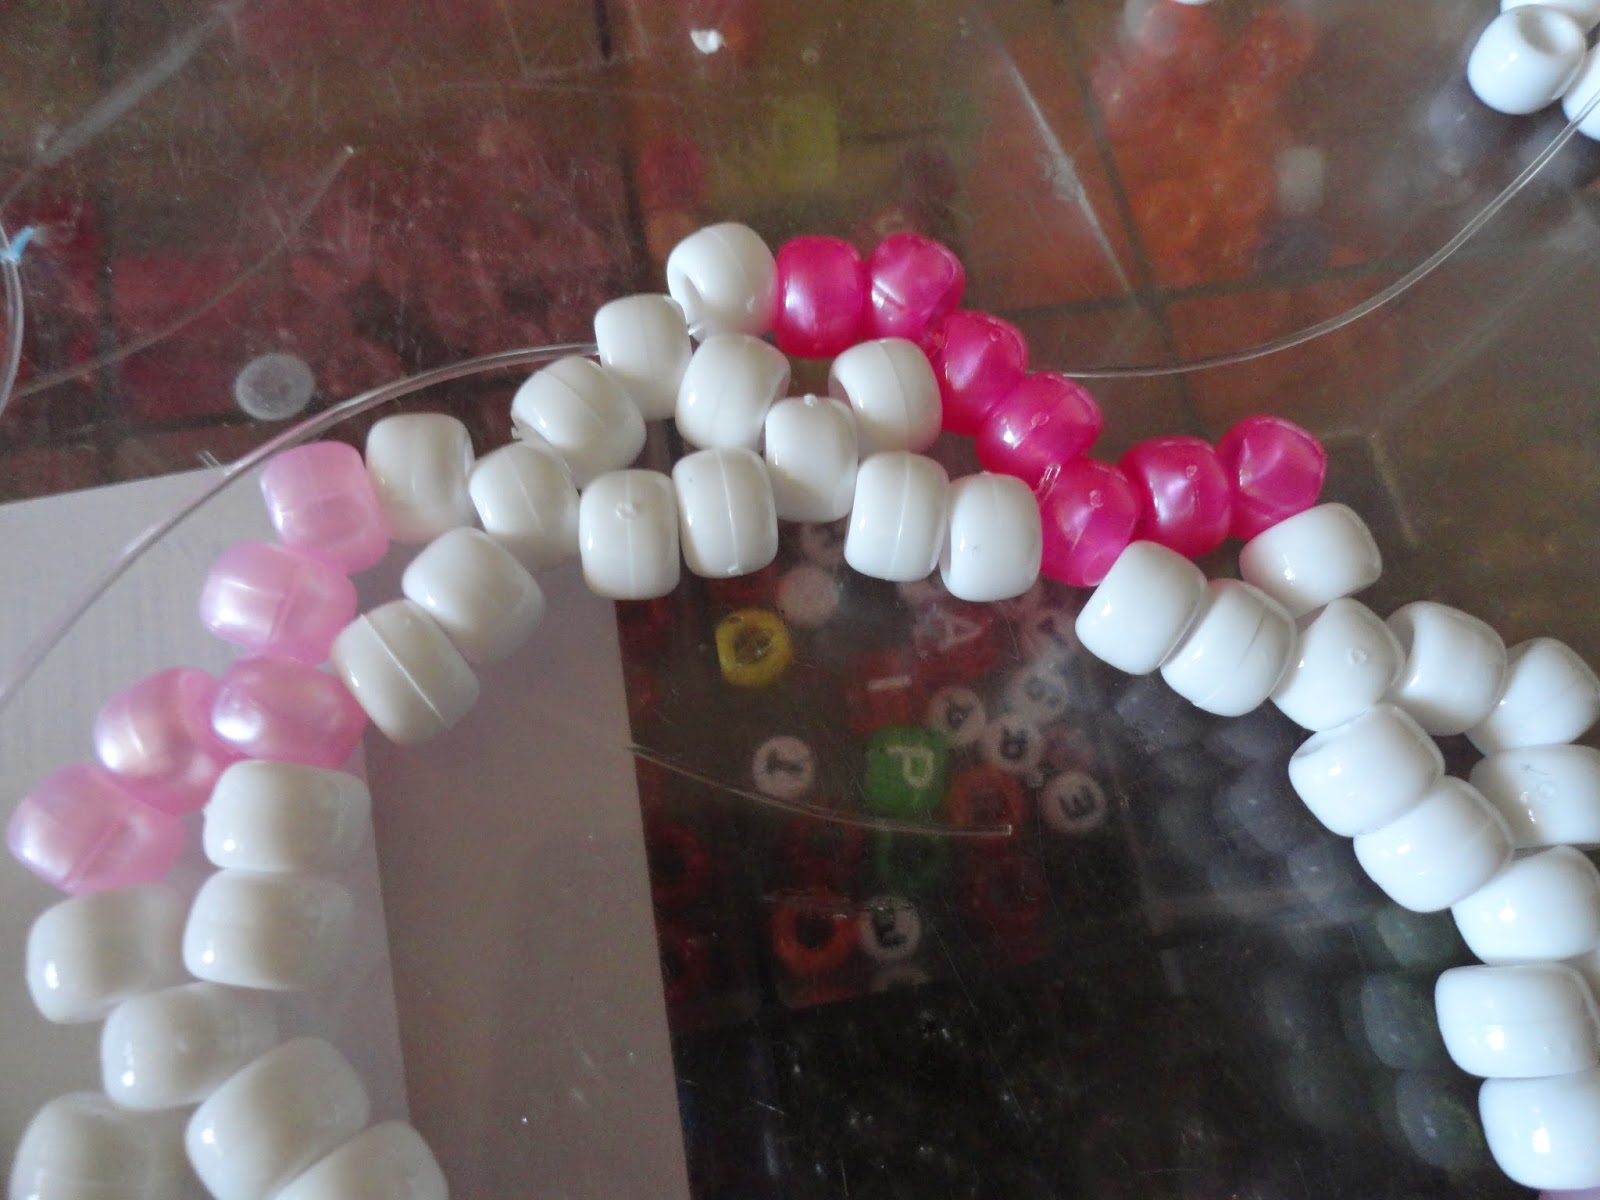
Row three
Start by going into a base point bead going towards a section of color 1 beads
String on one base bead and two color 1 beads then go into the closet color 1 point bead.
String on three color 1 beads then go into the next color 1 point bead.
Then you will put on two color 1 beads and one base bead.
Go into the closet base point bead.
Put on one base and two color 2 beads and go into the color 2 point bead.
Then you will put on three color 2 beads then string into the next color 2 point bead,
Then you will string one two color 2 beads and one base bead.
Go into the next base point bead. A repeat the previous steps.
You will continue with the steps all the way around.
Tie off, apply polish, and cut off extra string.
You should get something similar to above!
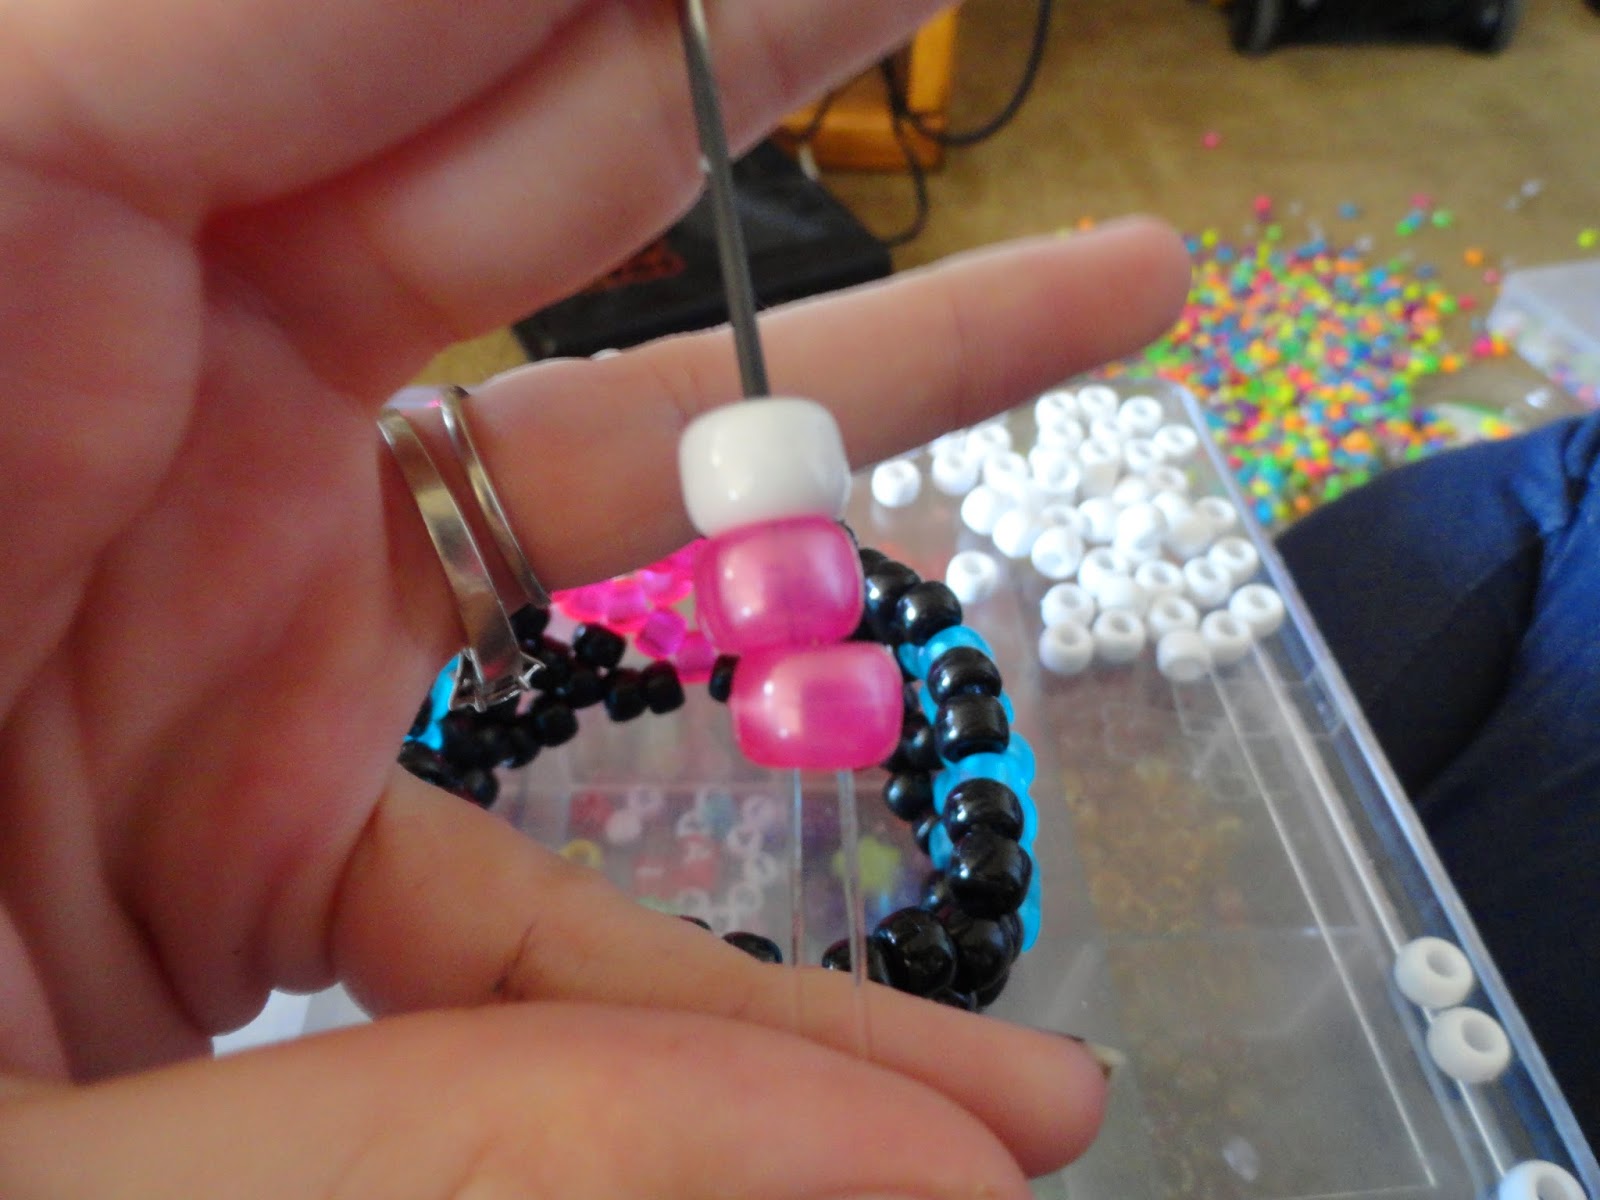
Row 4
Yes this one has an extra row to it because it is one and half xs high.
String into a point bead that is will put you going towards the opposite color point bead.
Here I decided to go into a color 2 bead.
Put on three base beads and go into the point bead of your next color (for me color 1)
*If you wish to make another row of hearts you would be putting on base, color, base instead of three base.
String on your color beads (color 1) and go into the color point bead.
Put on three color beads and string into the next point bead.
Then start over with three base beads and your next color beads.
Continue this all the way around.
By now you can see the hearts showing up in the design.
Tie off, apply polish, and cut off extra string.
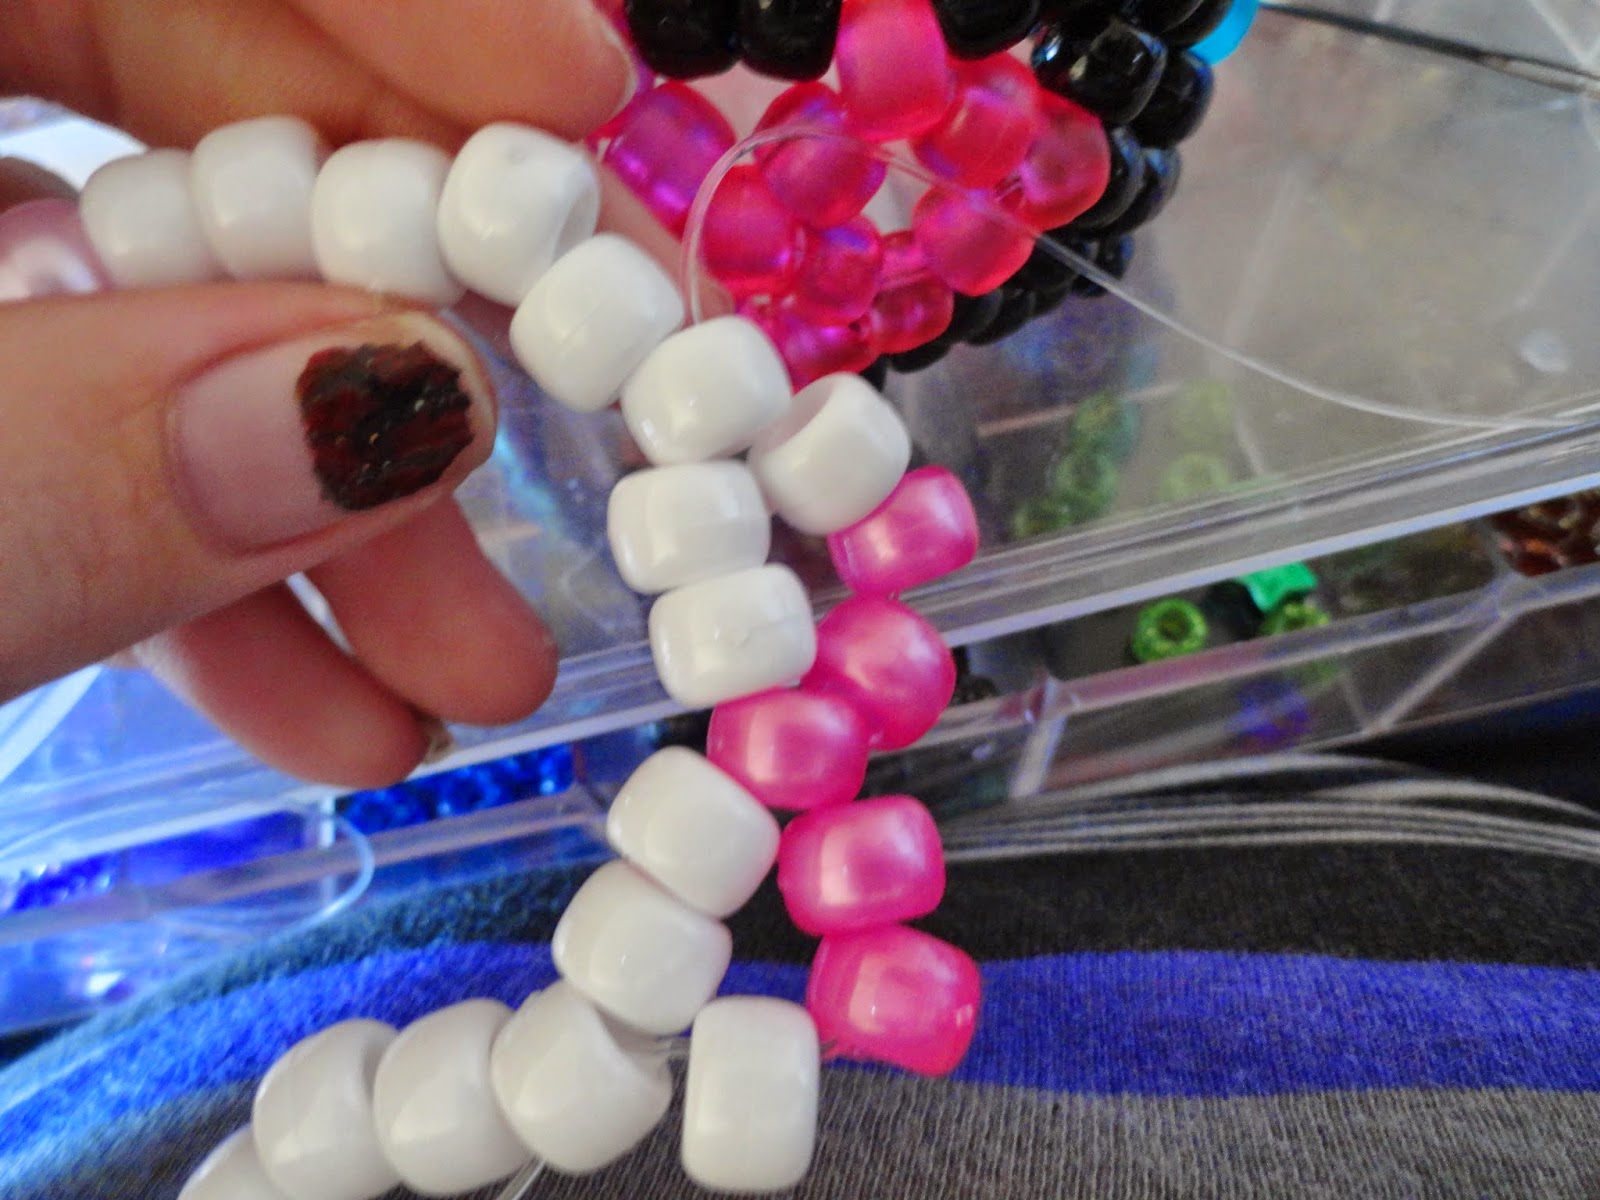
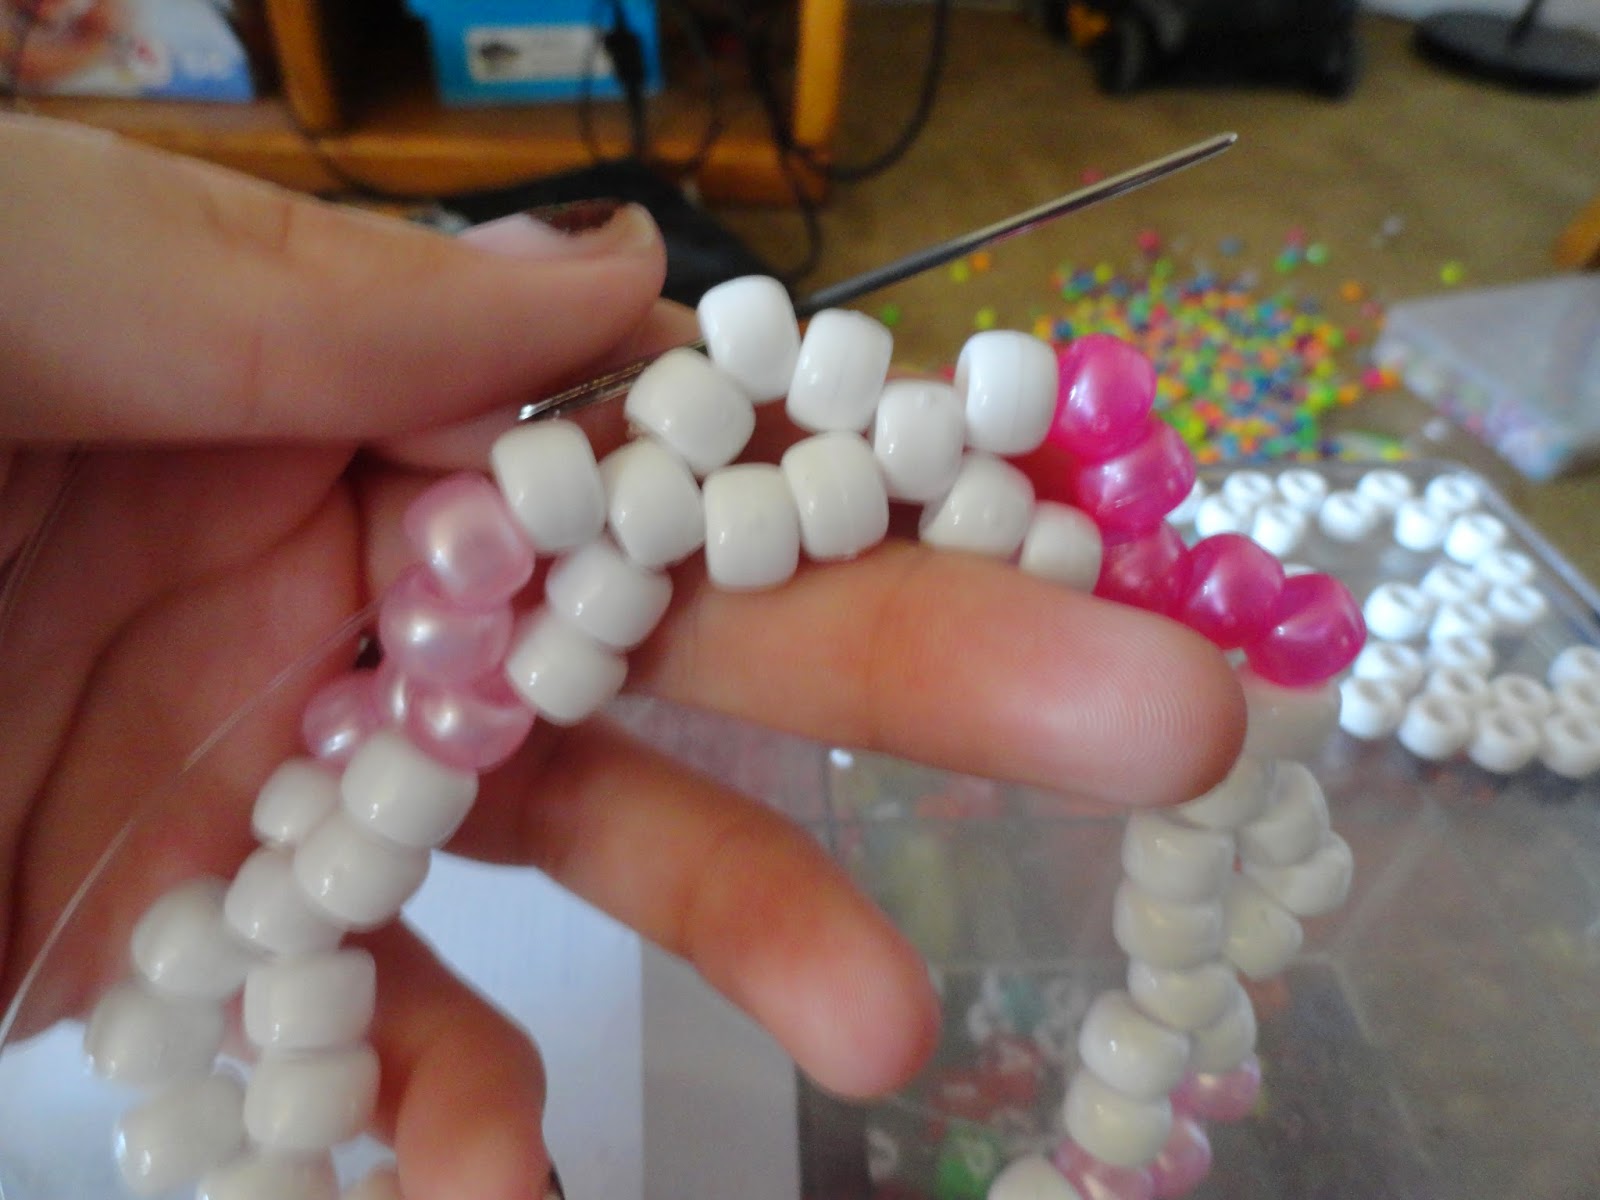
Finishing Off
This is the last row for those of us who are only doing 1 row of hearts.
Go into any point bead and string on two base beads then string into the next point bead
This will be continued all the way around until the end.
Pull tight and tie off.
Apply polish if desired and cut off extra string.
Contact
As always I am welcome to all comments, questions, and suggestions.
You can always contact me through this blog or you can go to any of the links below.


.jpeg)