Thursday, January 22, 2015

How to make: ZigZag xbase


Welcome to my zigzag xbase cuff tutorial.
This is the 3rd part of my xbase tutorial series.
The first two tutorials being the standard xbase and the dna xbase.
Next will be the heart xbase design.
This zigzag xbase is one x high.

Supplies 


The supplies you will need are three colors of beads color 1, color 2, and base
Elastic string (I use bead n stretch from walmart)
Scissors are also needed of course.

The Single

As always we will start with a single. 

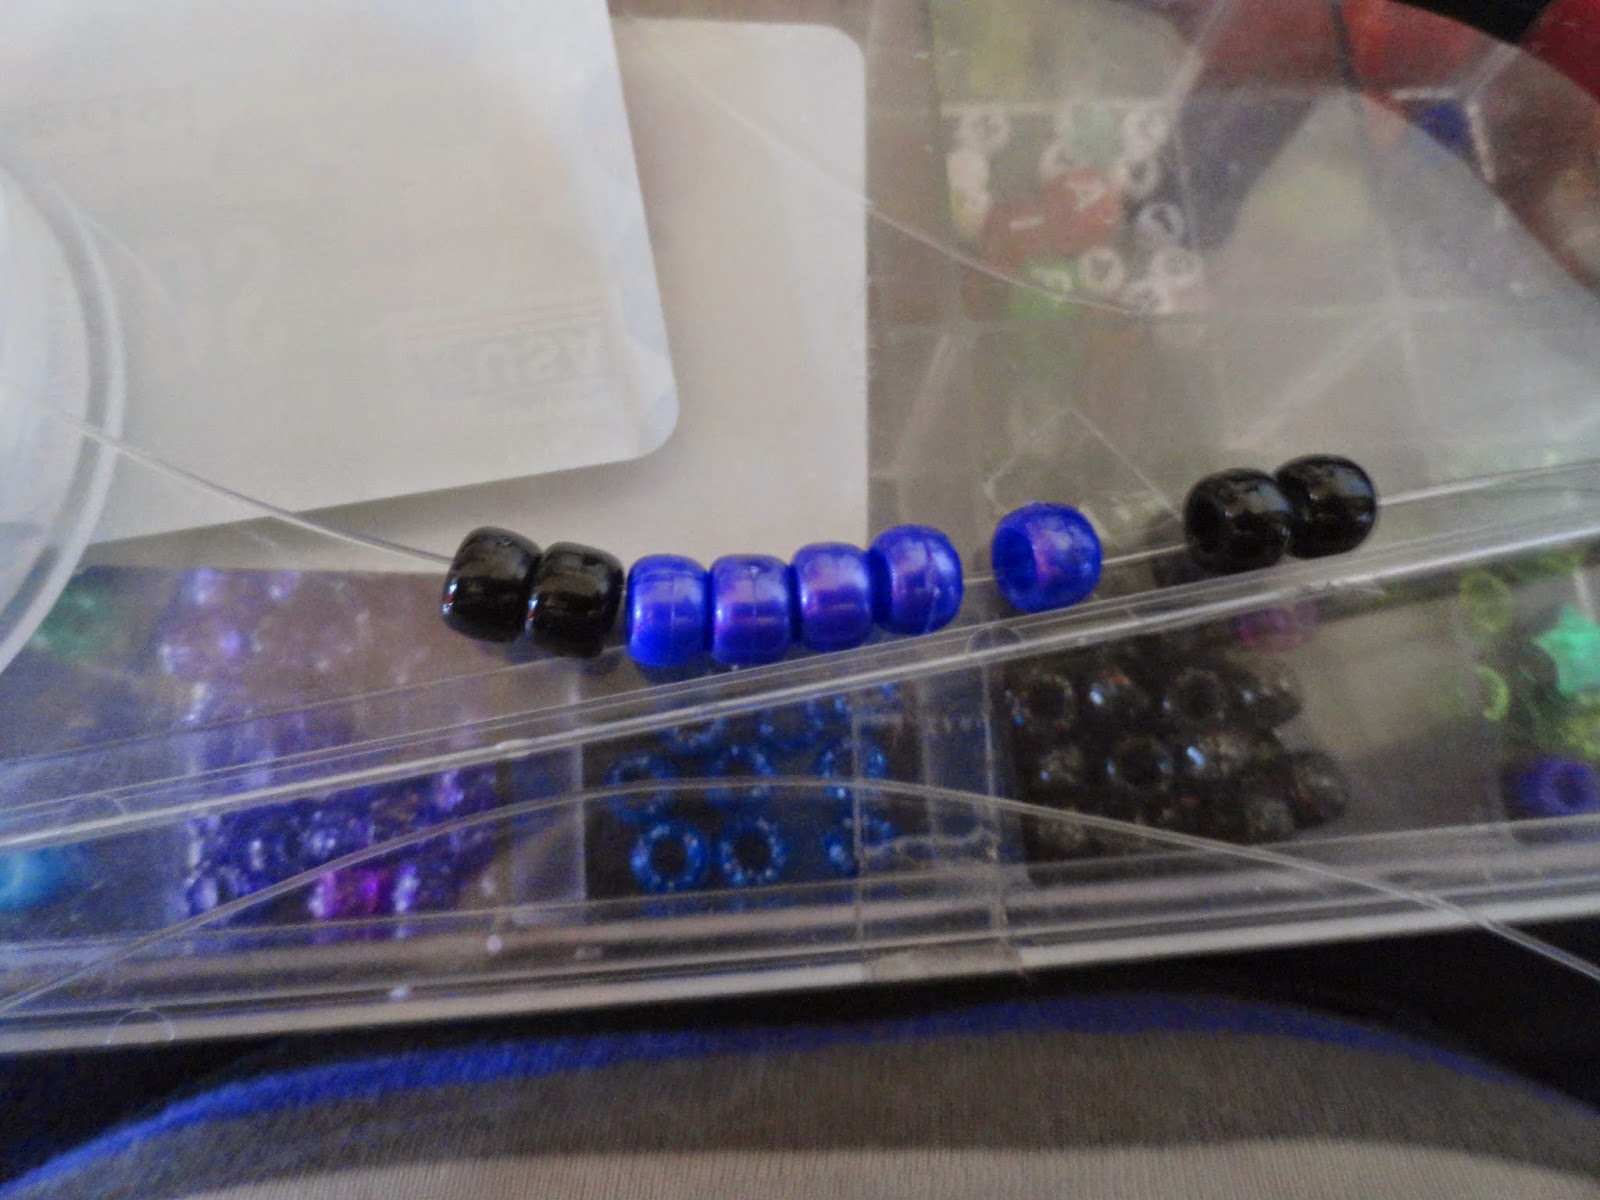
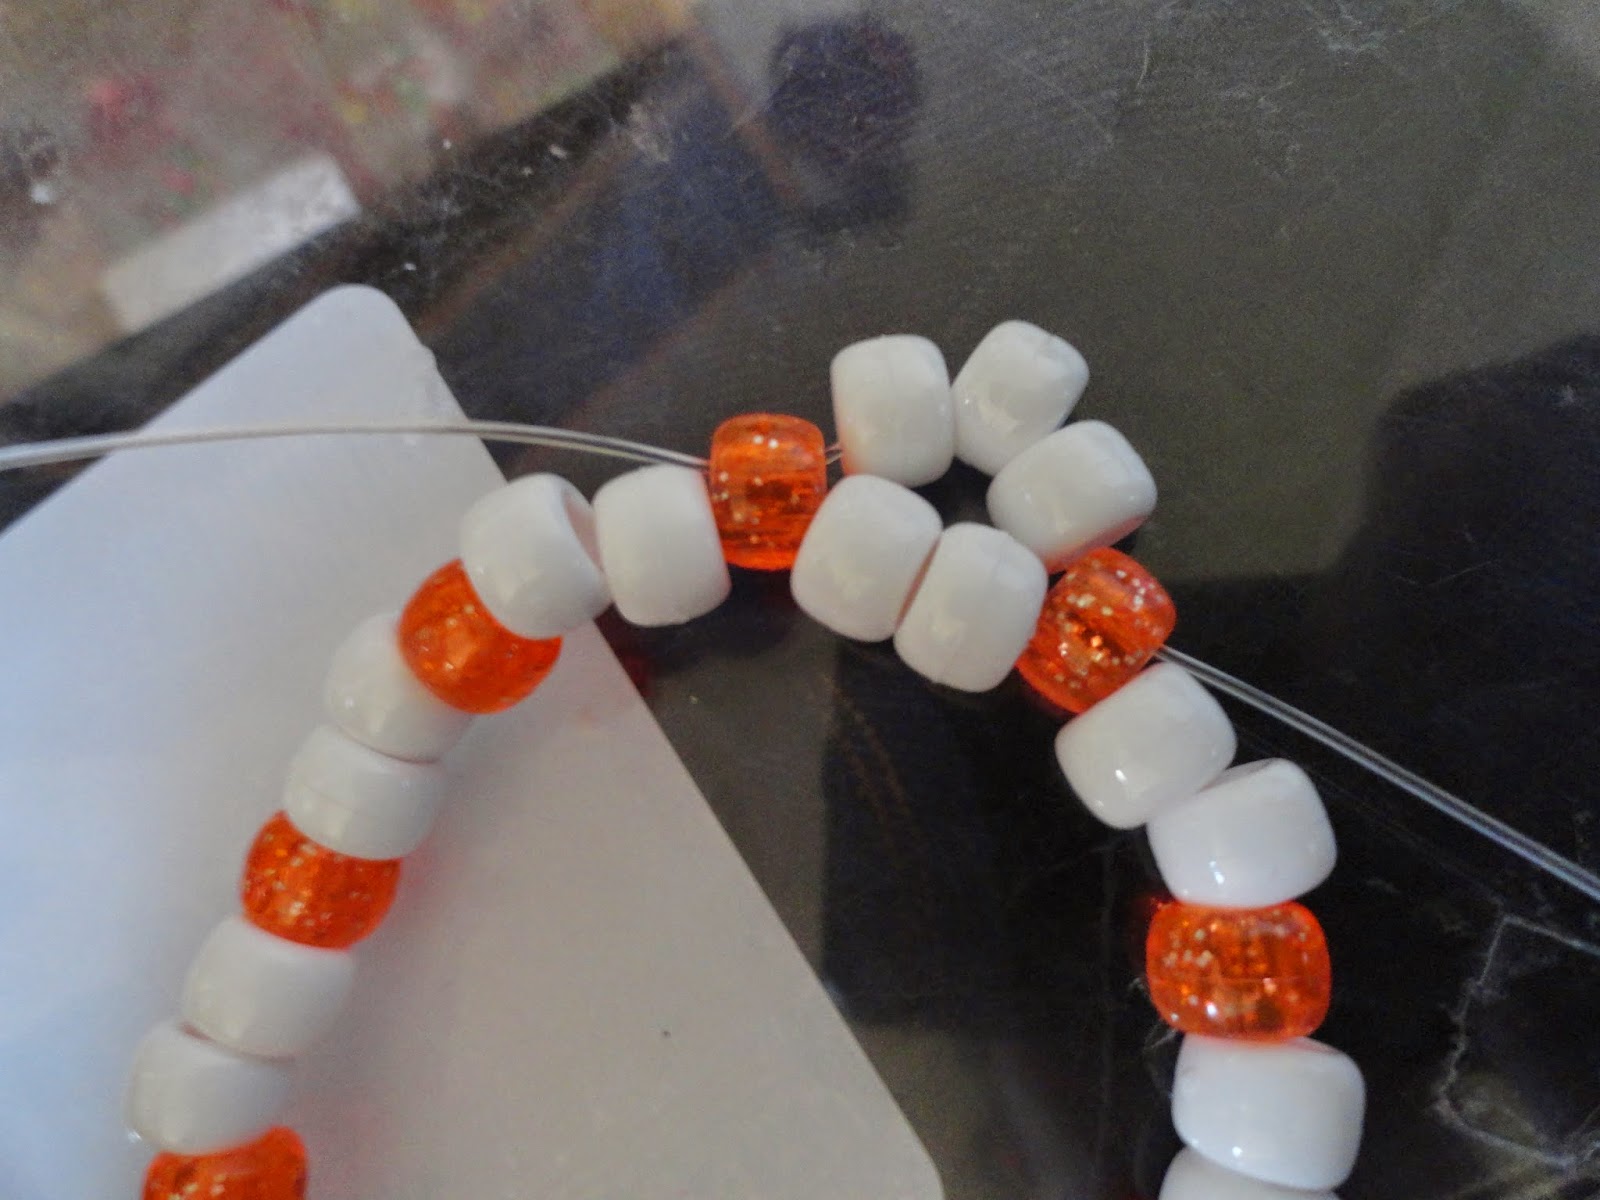
First start with adding on one color 1 bead then two base beads
Then one color 1 bead then two base beads
 It will end up looking like the picture above.
You should repeat this until you have at least five of each color.
The last pattern should be your color 2 and two base beads.
Make sure you have an even number of color beads.


 Tie off
Apply polish if desired
Cut extra string off
Your single should look similar to the single below.


Row 2

 Start by going through a color 1 bead.
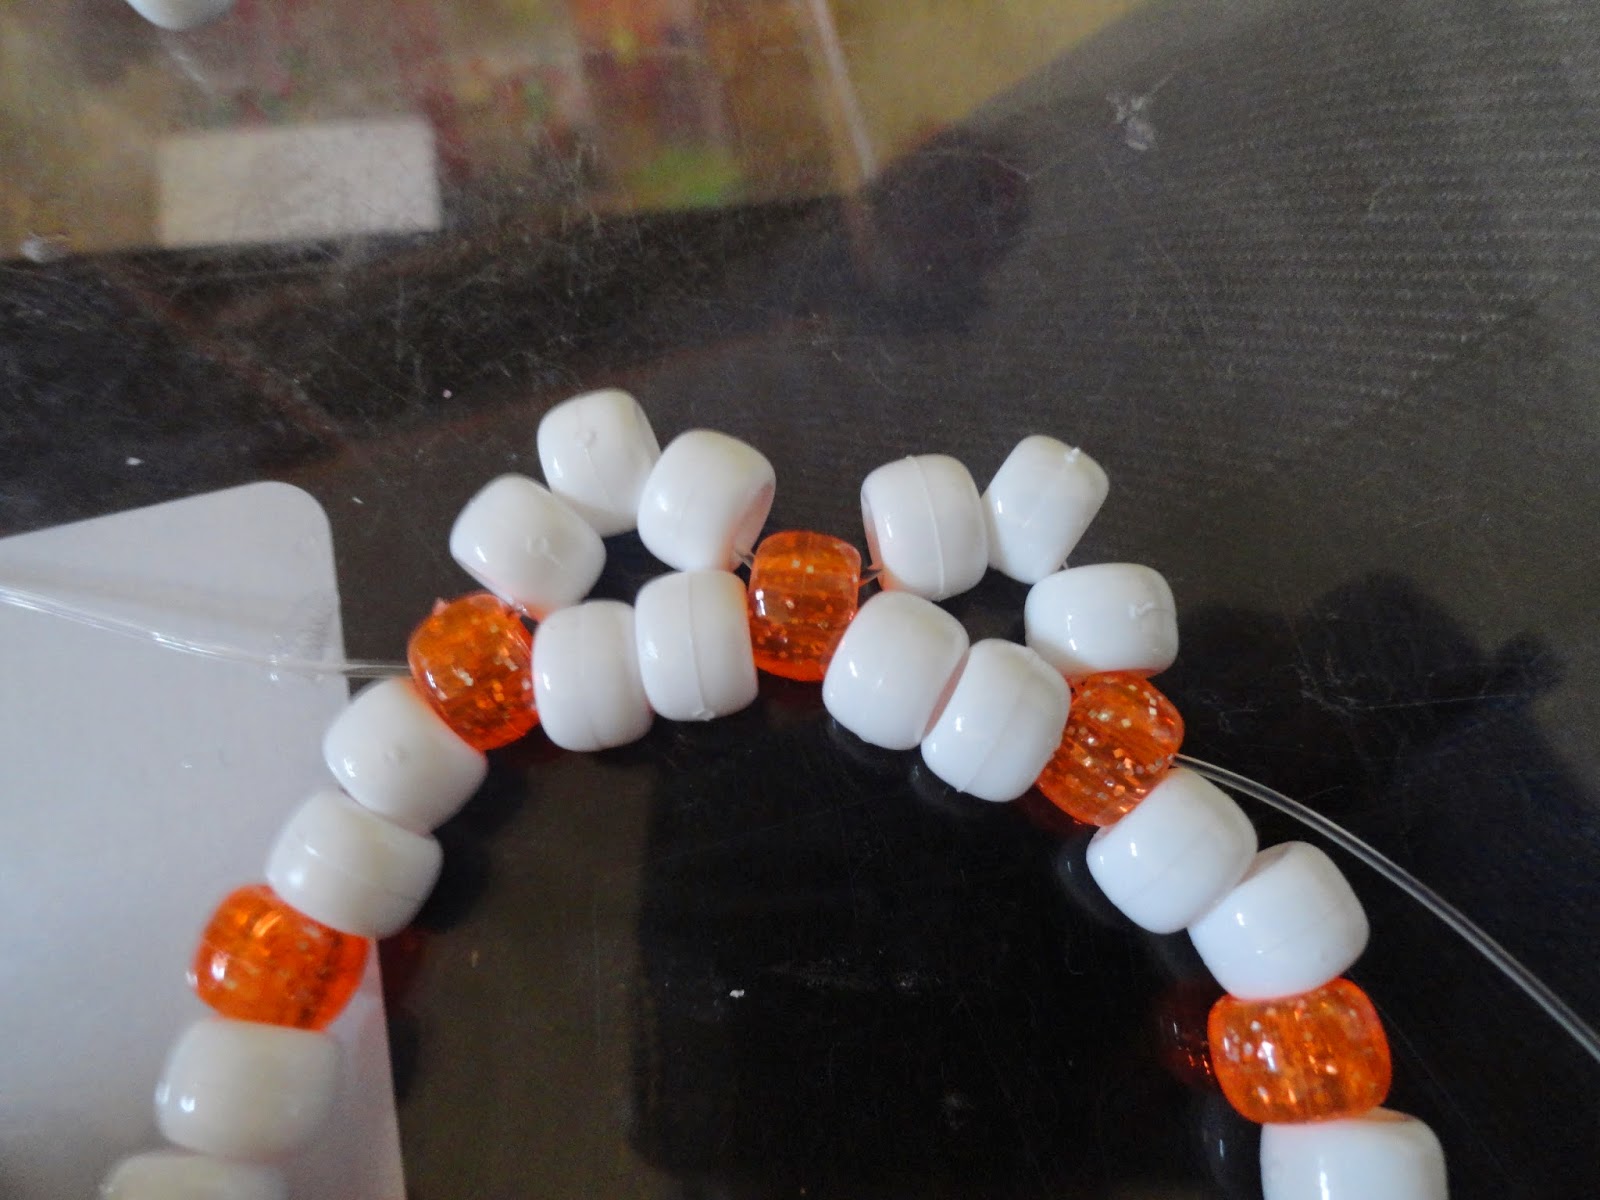
Then string on two color 1 beads and one color 2.
Go into the closest color 2 bead.
*as a rule you always add two beads of the color you just went through and one of the one you are going into.
What you get should look similar to the image below.

Continue using the rule all the way around. 
So the next step would be two of color2 and one color1..
Repeat 


 Tie off and add polish if desired, cut off extra string.

Row 3

String into any point or middle bead from row 2.
Here I went into a color2 bead. 
*As a rule always add on three colors of the one you went through.
Go through your next point bead.
You will get something similar to the image below.


You will string on three of the color you just went through as the rule says and go into the next point bead.
In my case I would string on three of my color 1 beads since that is what I went through.
Continue this all the way around and tie off.
Add fingernail polish if desired and cut off extra string.
 You should get something similar to the image below.


Finishing Off


You will finish off by stringing on two base beads between each point colored bead.
Continue this all the way around. 
Tie off and add polish if desired
Cut off extra string 
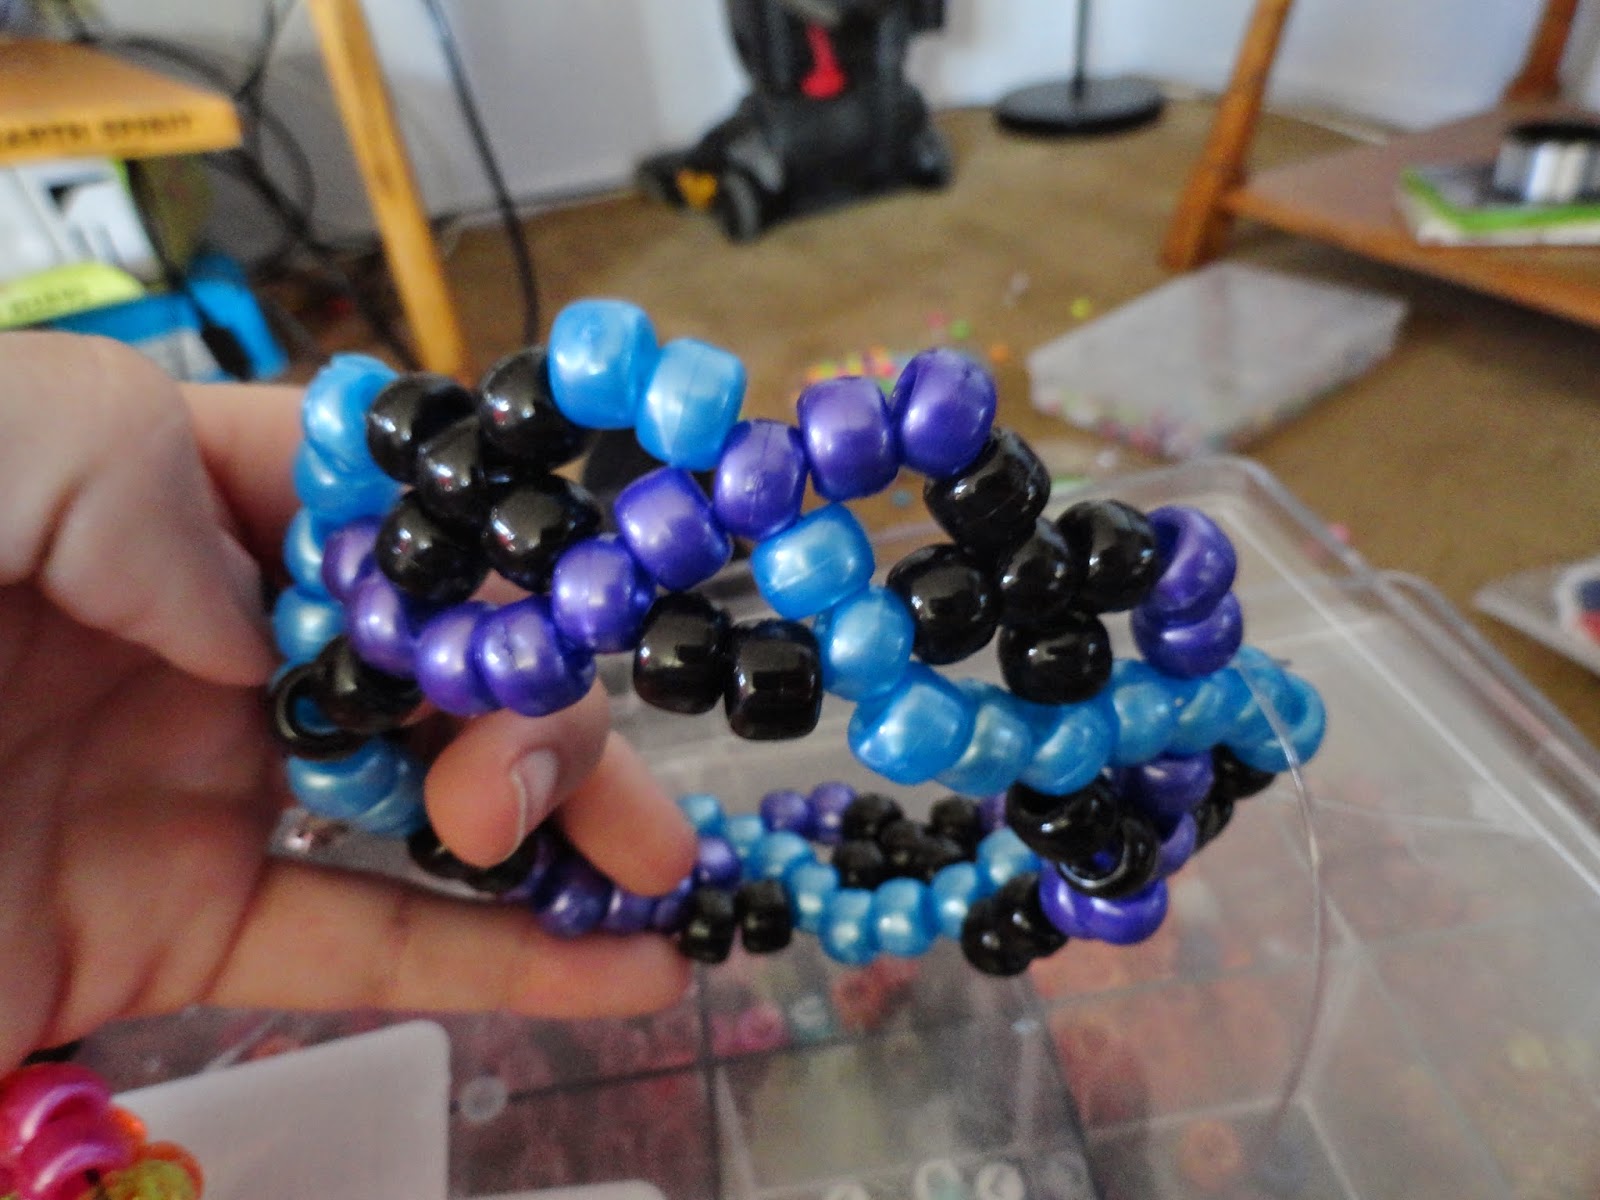
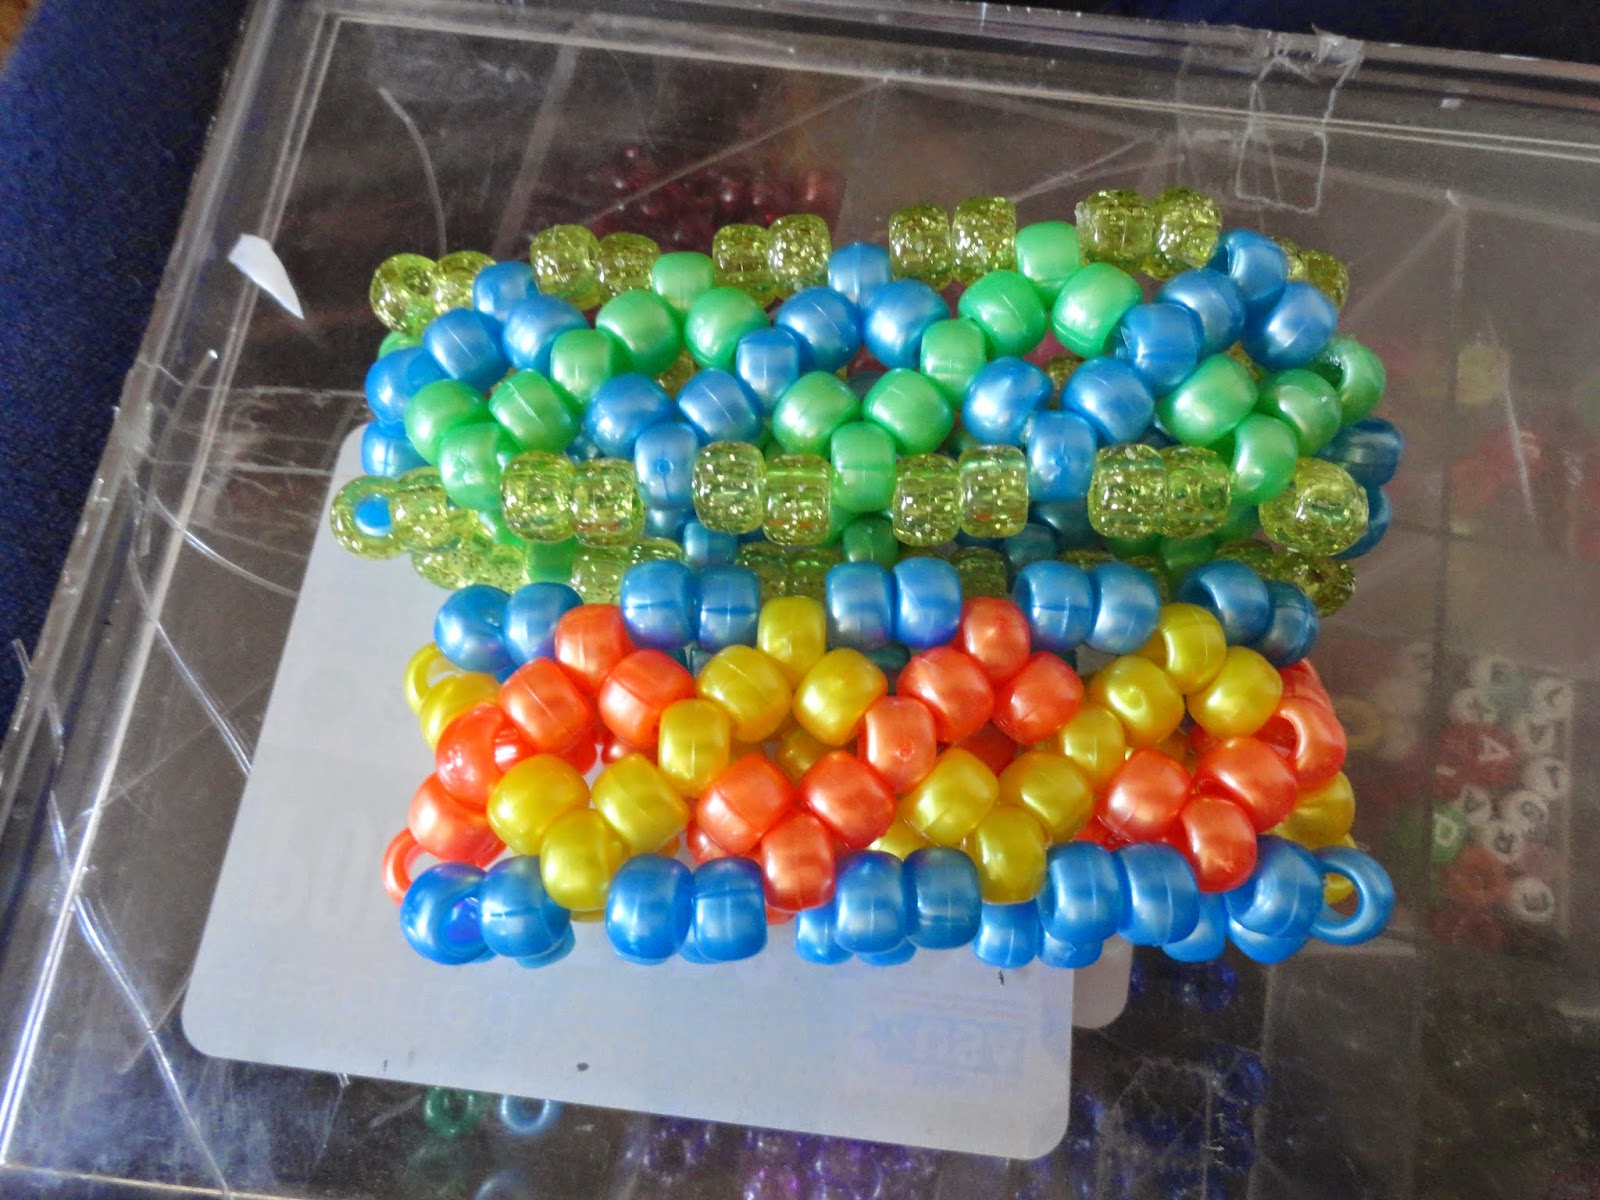
You should get something similar to the cuffs below 


Contanct

I welcome everyone to contact me with questions, comments or suggestions.
You can always contact me through this blog or the links below.

IG: @fuarie ♥ Twitter: @Fuarie ♥ Email: malakxfuarie@gmail.com


Wednesday, January 21, 2015

How to Make: DNA xbase


Welcome

Here is the second tutorial on Xbase cuffs. 
This one and the following will just be on how to make the different designs in your xbase.
These xbases might have other names then what I put on here.
The names will be DNA, Zig Zag, and Heart.
The DNA xbase is 1 x high.


The Supplies you will need are at least three colors of beads. Base color, color 1, and color 2
You will need elastic string and scissors.
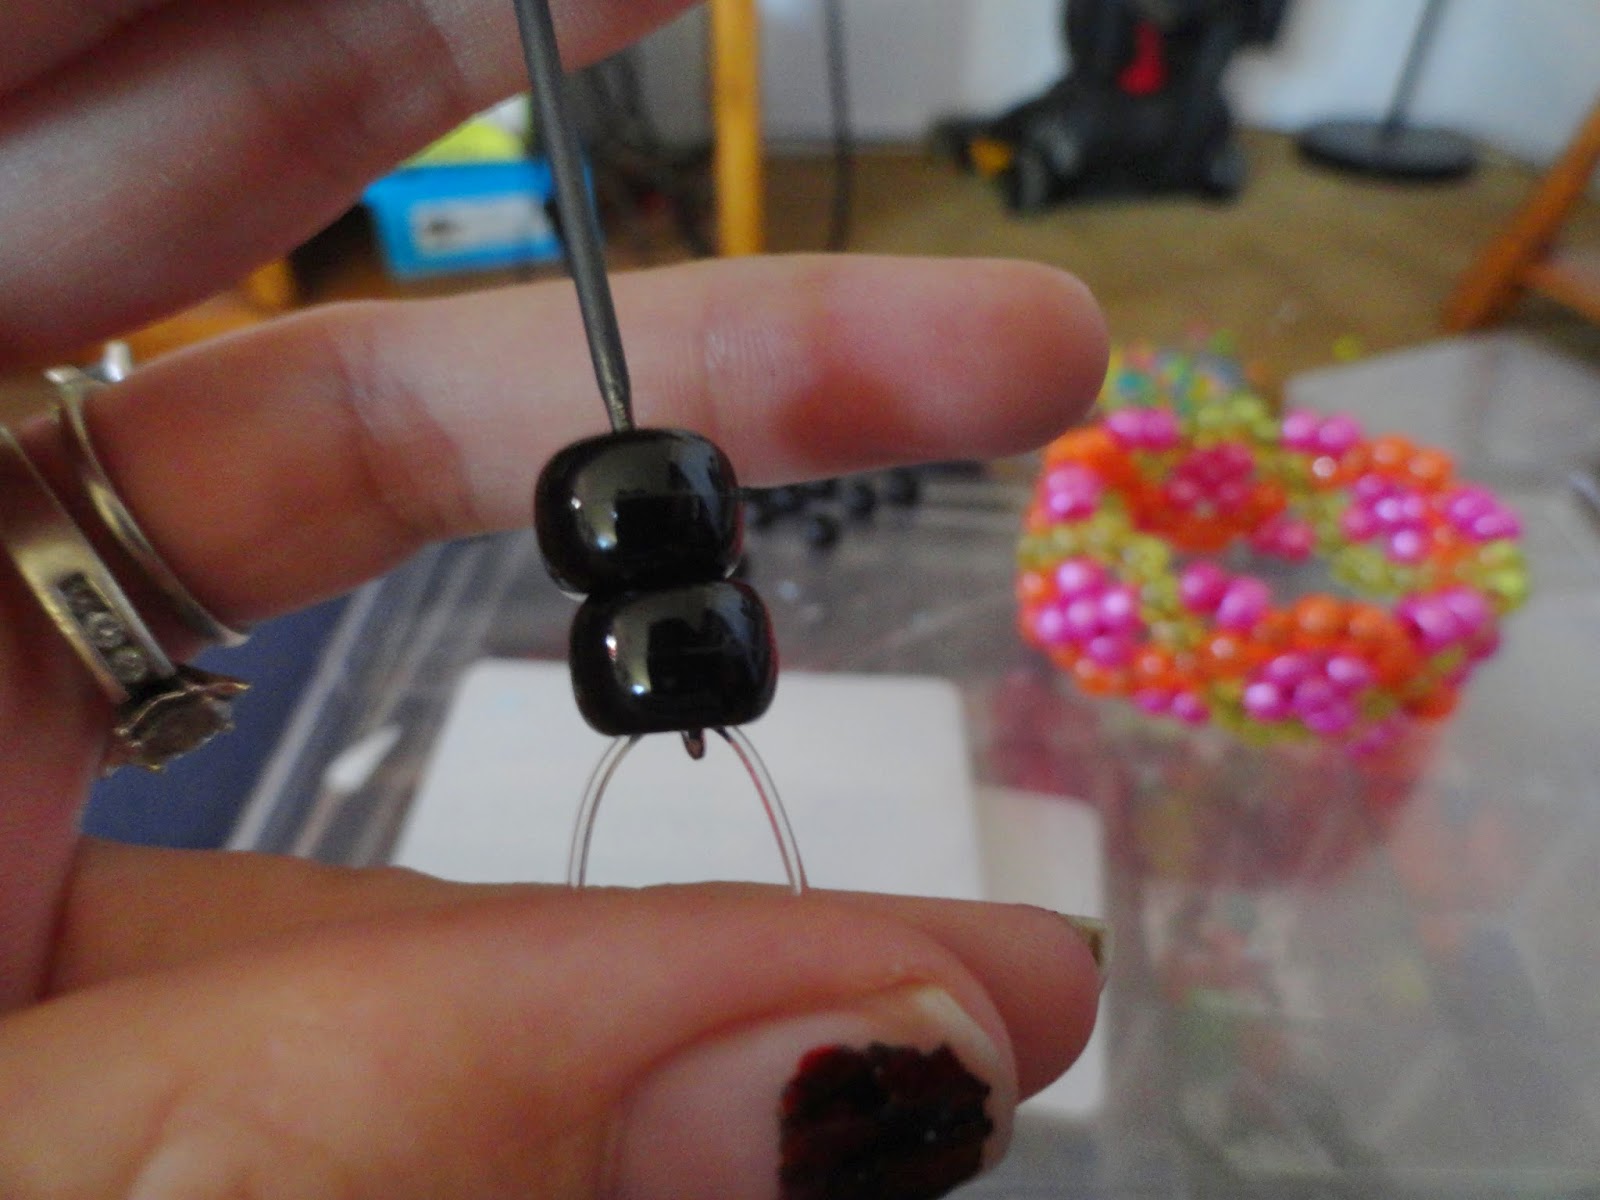
Optional supplies are a needle and clear finger nail polish (this is to help bind knots)

The Single

You will start by stringing on two base color then four beads of color 1.
Then string on two more base beads.


Next string on two of your color 2 beads.
Then you will repeat. 
2 base, 4 color 1, 2 base, 4 color 2

Continue this until you have three sections of each of your color 1/2  beads.
Remember to end in color beads and not base beads.
Tie off into a single.

Row 2

Okay so here I will talk about rules. 
These rules will just be an easier way to remember how to make this cuff when working it a different way.


String though a color 1 bead that will still have other colored 1 beads in front of it.
So here is a Rule. If you are over colored beads use base beads.
So you will string on three base colored beads
Then string into the last color 1 bead.


 Here is another rule.
When over your base bead string on colored bead.
You string on two of the color you went through and one of the color you are going into.
So now that you have strung on your beads go into the closest color 2 bead.

So remembering the rules the next steps would be to string on three base and go into your last color 2 bead.
Then you would string in 2 color 2 beads and 1 color 1 bead then go into the closest color 1 bead.

Continue this all the way around.
Tie off and then use finger nail polish if desired.
The out come should look similar to this.


Row 3

Okay so this whole  row is just a rule.
String though a middle or point bead of any color bead
String on two beads of that same color then one base
String into the point or middle bead of the closes base.
String on on base and two of that same color.
Go into the next color.
The you use that color to follow the same rule. Two color, one base.
Continue this all the way around.
At the end tie off and then apply polish if desired.
Cut off extra string!

Finishing Off

Start by stringing into a colored bead.
The rule here is if your over base you will be using color and if you are over color you will be using base.
So since this is over base you will be using two of the color you just went through.


Then string into the next middle color bead.
Then you will be over color so by the rule you will use base.
String on two base and then go into the next middle or point colored bead.
This should be the opposite color then what you started with.


 Continue this all the way around.
You should be able to see from the pictures above what I was talking about in the rule.
Over base is the color you just strung though and over color is base.
Don't forget to pull tight and tie off.
Use polish if you wish and cut off extra string.


When it is does it should look like this.
If you have any questions or comments please feel free to contact me
IG: @fuarie Twitter: @Fuarie Email: malakxfuarie@gmail.com


Monday, January 19, 2015

How To Make: A Standard X-Base Cuff


Hello and welcome to my picture and word tutorial on how to make a basic xbase cuffs.
 I will be showing four different designs to the x base within the next week!
 The xbase is important to making 3D and epic kandi as like its name implies it is the base for it.
These are easy to make but alot of people assume that they are messing up because the shape doesn't come together until close to the end. 

Supplies 


For supplies you are going to need two colors of beads.
A base color and connector colors. 
Once you get more skilled you can expand and use more colors or less.
You will also need elastic string and scissors.
Optional supplies are a needle and clear finger nail polish (This is used on knots to help them stay a knot)

Row 1: The Single

Most cuffs if not all cuffs start with a single. 


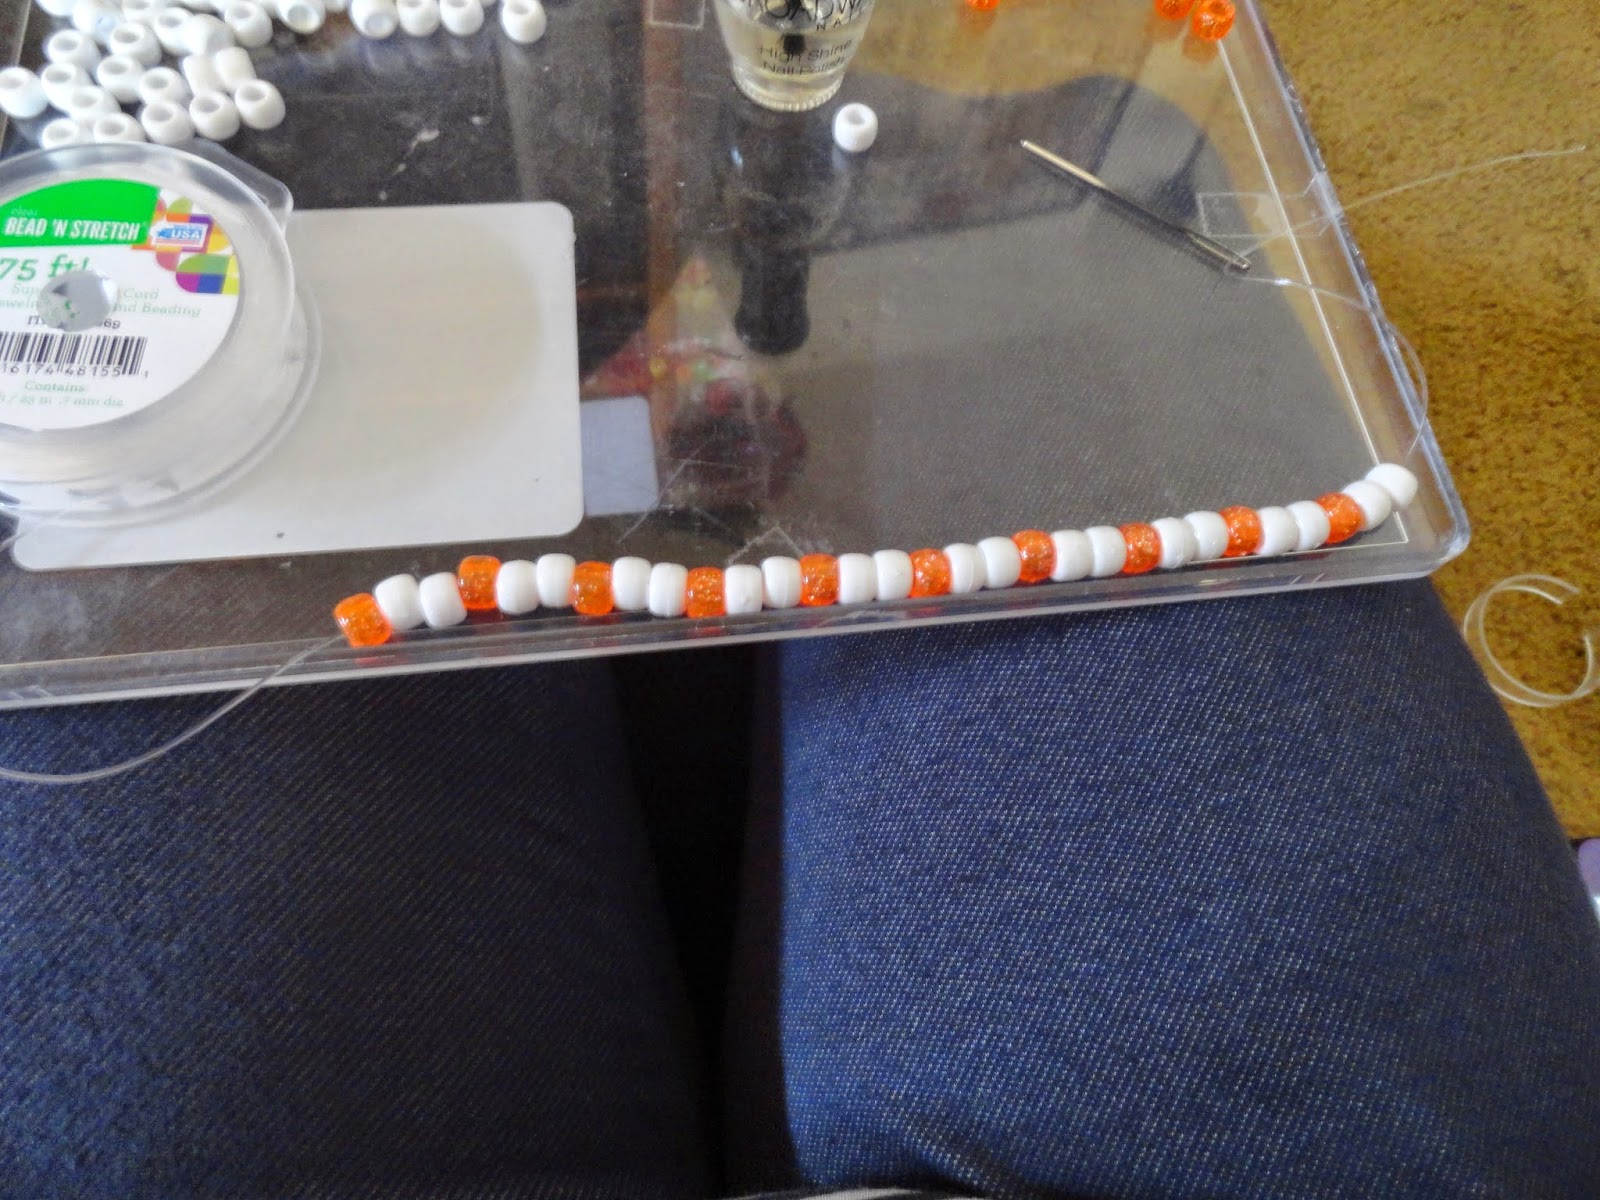
Start by stringing on one connector and two base beads. 
You will continue this until it can fit around your wrist but keep in mind you have to have an even number of connector beads if you are going to make a 3D or any design. 
As a helpful hint I have found that generally a female wrist is 10, a male is 12, and a upper arm is 14. 
 Tie it off and apply finger nail polish if desired. 
Cut off excess string.

Row 2: Building the X

String into any connector bead


String  three beads and go into next connector bead


Repeat this all the way around and tie off. 
Its often easier to make sure they are popped up into little triangles.
Apply nail polish if you wish and then cut off extra string

Row 3: Finishing the X


 Next go through any "point" or middle bead of the 2nd row. 
Then string on one base, one connector, then another base bead. In that order.
String into the middle bead of the next group. 
Continue all the way around. 
Tie off, use polish, then cut extra string.

Cuffs always look floppy until you finish them off.
From here if you wish to make more then one x high repeat the second and third row
When desired height follow the step below to finish off the cuff

Finishing off....

Thread through any connector bead from previous row.
String on two base beads then go through next connector. 
Continue to do this until you are all the way around.
Tie off, apply polish, and cut excess string.

Extra tip...


If you keep your string on spool and you don't want to waste the string that left on the other side just do this...
 Wrap the string around one finger before you tie off. 
Pull through beads going towards the end of the string still on the spool. 


Do this all the way around until all the excess (leaving enough to tie it off) is gone.
Make sure you are pulling the string tight.
Tie off, use polish, cut off extra string. 

FINISHED!! 


P.S.

To count how many xs high an base is just count the center bead that is between the connectors as 


Contact

IG:@fuarie ☺ Twitter: @fuarie ☺Email: malakxfuarie@gmail.com